Boricha & Vanilla Bean Ice Cream

My husband said, growing up, 보리차 (Boricha) was the one thing you could count on finding even in an empty fridge. A staple, everyday drink in many Korean Households.
보리 (Bori) — Barley
차 (Cha) — Tea
Barley tea is said to have many health benefits! It’s nutty, toasty, slightly earthy and a strangely comforting flavour! It has definitely grown on me in the past couple of years.
Although it’s not something I grew up with, I can appreciate the nostalgia that it provides for many— I decided to make it something you can expect to find in a seemingly empty freezer too:
Barley Tea Vanilla Bean Ice Cream.


The subtle sweet notes of the vanilla pairs perfectly with the nuttiness of the barley, all while not being too overpowering! It’s important that you give the mixture time to cool to allow the barley to infuse into the cream. Patience is key!


Machine Notes: My recipe does require an ice cream maker, so make sure you freeze your drum a couple days in advance for best results. The brand of ice cream maker I use is Cuisinart— but my machine is ancient so I don’t think you will find the exact one, however this is a similar model.
If you plan on using a Ninja Creami for the recipe I suggest dividing the custard mixture into two pint containers and freezing them for a full 24 hours before churning!
Recipe:
Makes 1 pint
Special Equipment:
ice cream maker (drum chilled 1-2 days in advance)
Barley Tea & Vanilla Bean Ice Cream:
250ml heavy cream
125ml 2% milk or whole milk
2 egg yolks
50g sugar (I used Truvia!)
1/2 vanilla bean/ 5g vanilla bean paste
18g roasted barley
pinch salt


In a small sauce pot, add your heavy cream, milk, sugar, vanilla bean seeds (and pod if using) as well as the roasted barley.
Place over medium low heat and bring the mixture to a simmer. Continue to simmer while whisking for about 5-7 minutes.


Place over medium low heat and bring the mixture to a simmer. Continue to simmer while whisking for about 5-7 minutes.
In a small heat proof bowl, add 2 egg yolks. Lightly whisk to to break.


Using a ladle, slowly pour a portion of your milk mixture into the bowl with the egg yolks all while whisking constantly. It is important to whisk constantly as you pour the hot liquid over the eggs— so we don’t “cook” them! This is referred to as “tempering”.
After you have added about half of your milk mixture to the bowl of the egg yolks, you can then safely pour the egg yolk/cream mixture back into your original sauce pot.


Place the pot back over medium low heat. Stir frequently and allow the custard to thicken slightly. You will know it is done when it can coat the back of a spoon, and there are no longer big bubbles that appear at the surface. It should look silky!
Remove from the heat and let the custard cool for 1 hour. This gives the barley more time to infuse into the milk mixture, if you wish for a more subtle flavour feel free to skip this step! Afterwards, you can pour the thickened custard through a strainer (to remove the barley and vanilla pod) and into a heatproof bowl. Lastly add your pinch of salt and stir to combine.


Cover with plastic wrap so that it touches the surface— and refrigerate for 4-6 hours or until completely cold.


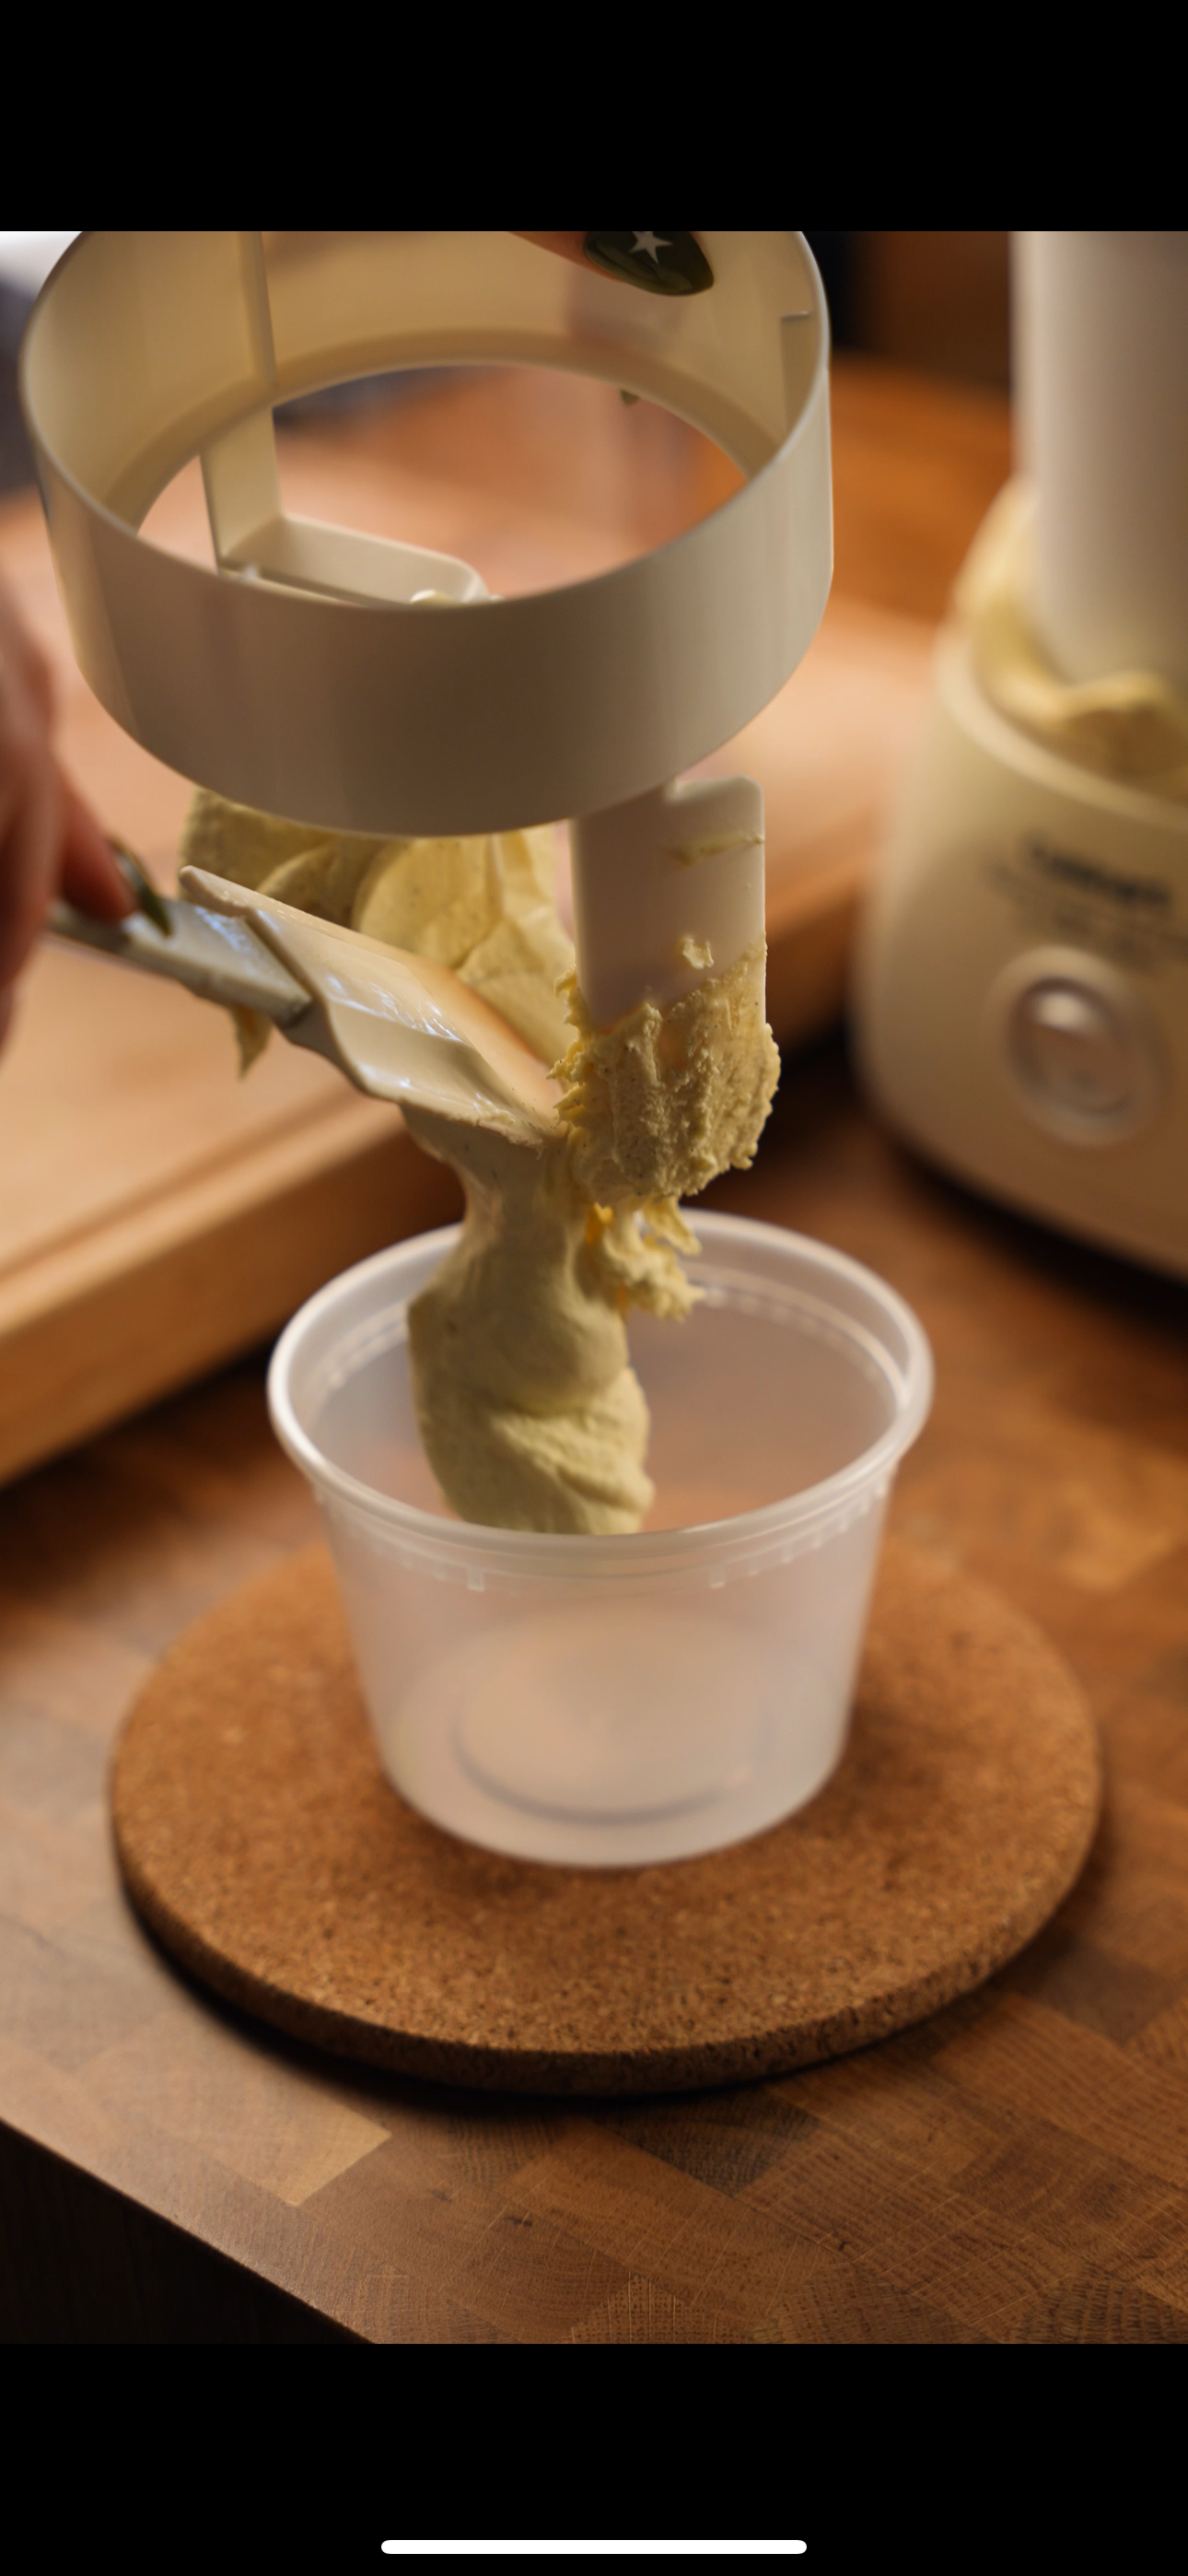
If using a Ninja Creami: Pour the custard into your pint container(s) and freeze for 24 hours before churning. I recommend spinning it 2-3 times on the Ice Cream mode.
After 4-6 hours your custard should be completely cold. Prepare your ice cream maker with the frozen drum (prepped 1-2 days in advance). Follow your ice cream maker’s instructions for best results!


I churned my mixture for 15 minutes for a soft serve style thickness. Transfer it to a glass lock or a small container. Eat straight away OR freeze the ice cream for 30 minutes after churning to help it hold shape. Of course, after freezing for long periods of time the ice cream will have a more firm texture. For softer results, allow it to thaw on the counter for 20 minutes before serving. Enjoy!

